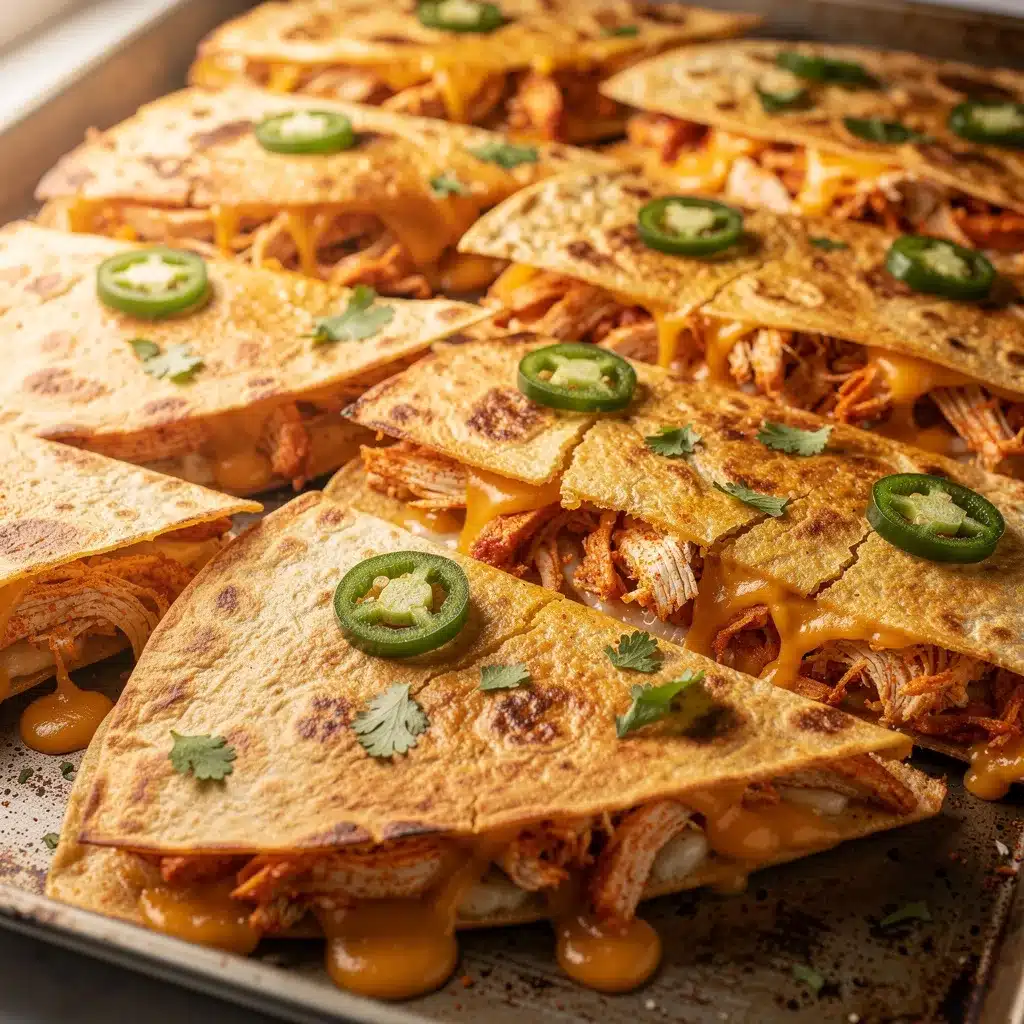
“Mom, what’s for lunch?” That question hits the same note every single day — especially when you’re juggling the chaos of work calls and homework help. One afternoon, between a spilled juice box and a last-minute Zoom meeting, I threw together what would become a staple in our house: the Crispy Sheet Pan Chicken Quesadilla Wedges. Honestly, it started as a “let’s just get this done” moment, but the crispy edges and melty cheese quickly turned skeptical kids into eager taste-testers. I kept finding myself making these wedges multiple times a week (I’m not kidding), and they became the go-to easy kids lunch that never felt like a compromise.
The beauty lies in the simplicity — just a sheet pan, a handful of ingredients, and minimal mess. The kitchen smells like toasted tortilla and warm spices, and the kids love dunking their wedges in salsa or guac. And somehow, this recipe manages to feel like a treat while still packing in protein and veggies. It’s funny how something so straightforward can become this quiet little win in the middle of a hectic day. That’s why this Crispy Sheet Pan Chicken Quesadilla Wedges recipe stuck around in our routine — it’s reliable, tasty, and just what you need when lunch calls for quick, fuss-free comfort.
Why You’ll Love This Recipe
This Crispy Sheet Pan Chicken Quesadilla Wedges recipe is one of those rare finds that blends convenience and flavor without the stress. I’ve tested this recipe over and over, tweaking the bake time and seasoning until it hit just the right crispy-cheesy balance. Here’s what makes it a favorite around here:
- Quick & Easy: Ready in under 30 minutes, perfect for those rushed afternoons or last-minute lunch plans.
- Simple Ingredients: Uses pantry staples like tortillas, shredded chicken, and cheese — no weird or hard-to-find stuff.
- Kid-Friendly: Crispy, cheesy, and perfectly portioned to keep little hands happy and bellies full.
- Crowd-Pleaser: Whether it’s a lunchbox addition or a quick snack, these wedges always get thumbs up from both kids and adults.
- Unbelievably Delicious: The secret? Baking them on a sheet pan allows the edges to crisp up beautifully, with melty cheese oozing inside.
Unlike your typical quesadilla that’s flipped in a pan, this sheet pan method frees up your hands and keeps cleanup minimal — a total game changer when you’re juggling a million things. Plus, I love how you can customize these wedges with whatever veggies or cheese you have on hand. Honestly, it’s become my secret weapon for turning plain leftovers into something exciting. This isn’t just another quesadilla recipe; it’s the one that actually makes lunch feel easier and more fun.
What Ingredients You Will Need
This recipe calls for straightforward, wholesome ingredients that come together to create bold flavors and a satisfying crunch without any fuss. Most of these are kitchen staples, so you probably have them on hand already.
- Flour tortillas: Large size, soft but sturdy (I prefer Mission brand for best texture)
- Cooked chicken: Shredded or chopped (rotisserie chicken works wonderfully for convenience)
- Cheese blend: Shredded cheddar and Monterey Jack (for meltiness and flavor)
- Bell peppers: Finely diced (adds sweetness and a pop of color)
- Red onion: Minced (optional, for a little sharpness)
- Jalapeño or mild chili: Finely chopped (optional, for a gentle kick)
- Olive oil: For brushing tortillas (helps crisp them up)
- Ground cumin: Adds warmth to the chicken mixture
- Chili powder: For subtle spice and depth
- Salt & pepper: To taste
- Fresh cilantro: Chopped, for garnish (optional but freshens it up)
You can swap the chicken with turkey or even a plant-based cooked meat alternative if you want to keep it vegetarian. For a gluten-free twist, corn tortillas work fine, but they’re a bit more fragile so handle gently. When it comes to cheese, I’ve also tried pepper jack for an extra zing, and it was a hit. If you want to sneak in more veggies, finely chopped spinach or zucchini mixes well without overpowering the flavor.
Equipment Needed
- Baking sheet (sheet pan): The star of this recipe — choose one with a rim to catch any drips.
- Parchment paper or silicone baking mat: To prevent sticking and make cleanup a breeze.
- Mixing bowl: For tossing the chicken and veggies with spices.
- Sharp knife and cutting board: For dicing veggies and shredding chicken if needed.
- Pastry brush: Handy for brushing olive oil onto the tortillas evenly.
If you don’t have a pastry brush, a clean paper towel works just fine for oiling. I once tried baking the quesadillas on an unlined pan, and while it still worked, the cleanup was a pain. Using parchment paper saves time, especially when you’re juggling kids and lunch prep. Also, a rimmed baking sheet is key — flat ones can let the cheese and juices drip all over your oven. For budget-friendly options, the basic aluminum pans from the store do the job, but I recommend investing in a sturdy non-stick sheet pan if you plan to make this often.
Preparation Method
- Preheat your oven to 425°F (220°C). This higher temperature crisps the tortillas quickly without drying out the filling.
- Prepare the chicken filling: In a mixing bowl, combine 2 cups (about 300g) shredded cooked chicken, ½ cup (75g) diced bell peppers, ¼ cup (40g) minced red onion, and 1 small finely chopped jalapeño (optional). Add 1 teaspoon ground cumin, 1 teaspoon chili powder, and salt and pepper to taste. Toss well to coat everything evenly. If your chicken isn’t seasoned, this step really brings the flavors together.
- Lay out 4 large flour tortillas on a clean surface. Brush one side of each tortilla lightly with olive oil — about 1 teaspoon per tortilla. This will be the outer side that crisps up nicely in the oven.
- Flip the tortillas oil-side down. Evenly spread the chicken mixture over half of each tortilla, then sprinkle generously with 1 cup (100g) shredded cheese blend. Fold the tortillas in half, pressing gently to seal.
- Place the folded quesadillas on the parchment-lined baking sheet, oil side up. Brush the top with a little more olive oil (another teaspoon per quesadilla) to encourage golden crispness.
- Bake for 12–15 minutes, flipping halfway through. Use a spatula to carefully turn them over so both sides get that crisp, golden finish. Watch closely at the end — you want the cheese melted but not oozing out everywhere.
- Remove from oven and let cool for 3–5 minutes. This resting time helps the cheese set a bit so the wedges hold together when cut.
- Slice each quesadilla into 3–4 wedges. Serve warm with your favorite dips like salsa, guacamole, or sour cream.
If the chicken feels dry, a splash of lime juice or a drizzle of sour cream before folding the tortillas works wonders. When flipping, use a wide spatula to avoid tearing the quesadillas. The smell of the toasted tortillas and spices filling the kitchen is a good sign you’re on the right track. Timing is flexible by a few minutes — just keep an eye on the cheese bubbling and tortilla crisping.
Cooking Tips & Techniques
Here’s what I’ve learned after making these wedges dozens of times. First, getting the right crisp comes down to oiling the tortillas evenly — too little and they stay chewy, too much and they get greasy. I found that brushing both sides with olive oil, but especially the outer surfaces, gives the best crunch.
Don’t overload the filling. It can be tempting to stuff every bite with chicken and cheese, but too much filling makes the quesadilla soggy and prone to breaking. A thin, even layer works best and cooks through faster.
Flipping the quesadillas halfway is key. I used to bake them on one side only and ended up with a burnt bottom and pale top. Turning them ensures even cooking and that perfect golden color all around.
One mistake I made early on was skipping the resting period after baking. Cutting too soon leads to cheese leaking everywhere and a mess on the plate. Letting them rest for a few minutes helps everything set up nicely.
When multitasking, prep the filling ahead and keep it in the fridge. Then, when lunch time hits, assembling and baking takes just minutes. This recipe also pairs well with a quick side salad or some fruit to round out the meal.
Variations & Adaptations
- Vegetarian version: Swap chicken for black beans or roasted veggies like zucchini and corn. Adding a sprinkle of smoked paprika gives a nice depth.
- Spicy twist: Add chipotle powder to the chicken mix or use pepper jack cheese for an extra kick.
- Gluten-free option: Use corn tortillas, but handle them gently as they’re less pliable. Toast them briefly before assembling to reduce breakage.
- Different cheeses: Try mozzarella for a milder melt or feta for tangy bursts.
- Slow cooker chicken: If you have more time, slow-cook chicken with taco spices and shred it for an even more flavorful filling.
One personal favorite is adding a few tablespoons of freshly chopped spinach into the chicken mix — it sneaks in some greens without changing the flavor much. Also, swapping bell peppers for roasted red peppers gives a sweeter, smoky note that kids surprisingly love. If you want to make these wedges even easier, I’ve sometimes used pre-shredded rotisserie chicken from the deli — saves a ton of time without sacrificing taste.
Serving & Storage Suggestions
Serve these Crispy Sheet Pan Chicken Quesadilla Wedges warm, right out of the oven, for the best texture. They pair beautifully with fresh salsa, guacamole, or a dollop of sour cream. For a lunchbox, pack wedges with a small container of dip on the side and some crunchy veggies or fruit to complete the meal.
Leftovers keep well in an airtight container in the fridge for up to 3 days. To reheat, pop them back in a 350°F (175°C) oven for 8-10 minutes or warm them on a skillet — this helps keep the outside crispy instead of soggy like the microwave can do.
Freezing is also possible: wrap wedges tightly in foil and freeze for up to 2 months. Thaw overnight in the fridge and reheat in the oven. The flavors actually deepen a bit after a day, making them just as tasty the next day.
Nutritional Information & Benefits
This recipe provides a balanced mix of protein, carbs, and fats, making it a satisfying meal for kids and adults alike. One serving (about 3 wedges) contains approximately:
| Calories | 350 kcal |
|---|---|
| Protein | 25 g |
| Carbohydrates | 30 g |
| Fat | 15 g |
Chicken brings lean protein that supports growth and energy, while bell peppers add vitamin C and antioxidants. Using olive oil adds heart-healthy fats, and you can easily adjust the recipe for gluten-free diets by swapping tortillas. Just watch out for dairy allergies if you’re using cheese; plant-based cheese substitutes work well here if needed.
As someone who tries to keep lunches both tasty and nourishing, these quesadilla wedges are a solid choice that feels like a treat, not just a routine meal.
Conclusion
There’s something quietly satisfying about the Crispy Sheet Pan Chicken Quesadilla Wedges — they’re simple, reliable, and genuinely tasty. Whether you’re packing a lunchbox or need a quick after-school snack, this recipe fits the bill without extra fuss. I love how it turns basic ingredients into cheesy, crispy wedges that kids actually ask for again and again.
Feel free to play with the fillings and cheeses to match your family’s tastes or whatever you have on hand. Making lunch easier and more enjoyable doesn’t have to be complicated, and these wedges are proof of that.
If you try them, I’d love to hear how you customize your version or what dips your kids like best. There’s something about sharing these little kitchen wins that makes the whole busy day feel a bit lighter.
Frequently Asked Questions
Can I make these quesadilla wedges ahead of time?
Yes! You can prep the filling a day ahead and assemble just before baking. Leftover baked wedges store well in the fridge for up to 3 days.
What can I use instead of chicken?
Try black beans, roasted veggies, or shredded turkey. For a vegetarian option, beans work great, and you can add extra cheese for richness.
How do I keep the quesadillas crispy after reheating?
Reheat in the oven or on a skillet rather than the microwave to maintain crispiness.
Can I freeze these quesadilla wedges?
Absolutely! Wrap tightly and freeze up to 2 months. Thaw overnight before reheating.
Are these quesadilla wedges suitable for gluten-free diets?
Yes, just swap regular flour tortillas for gluten-free or corn tortillas, keeping in mind corn tortillas are more delicate.
For those craving more kid-friendly lunch ideas, you might enjoy the crispy garlic chicken recipe that’s just as simple and satisfying.
Pin This Recipe!
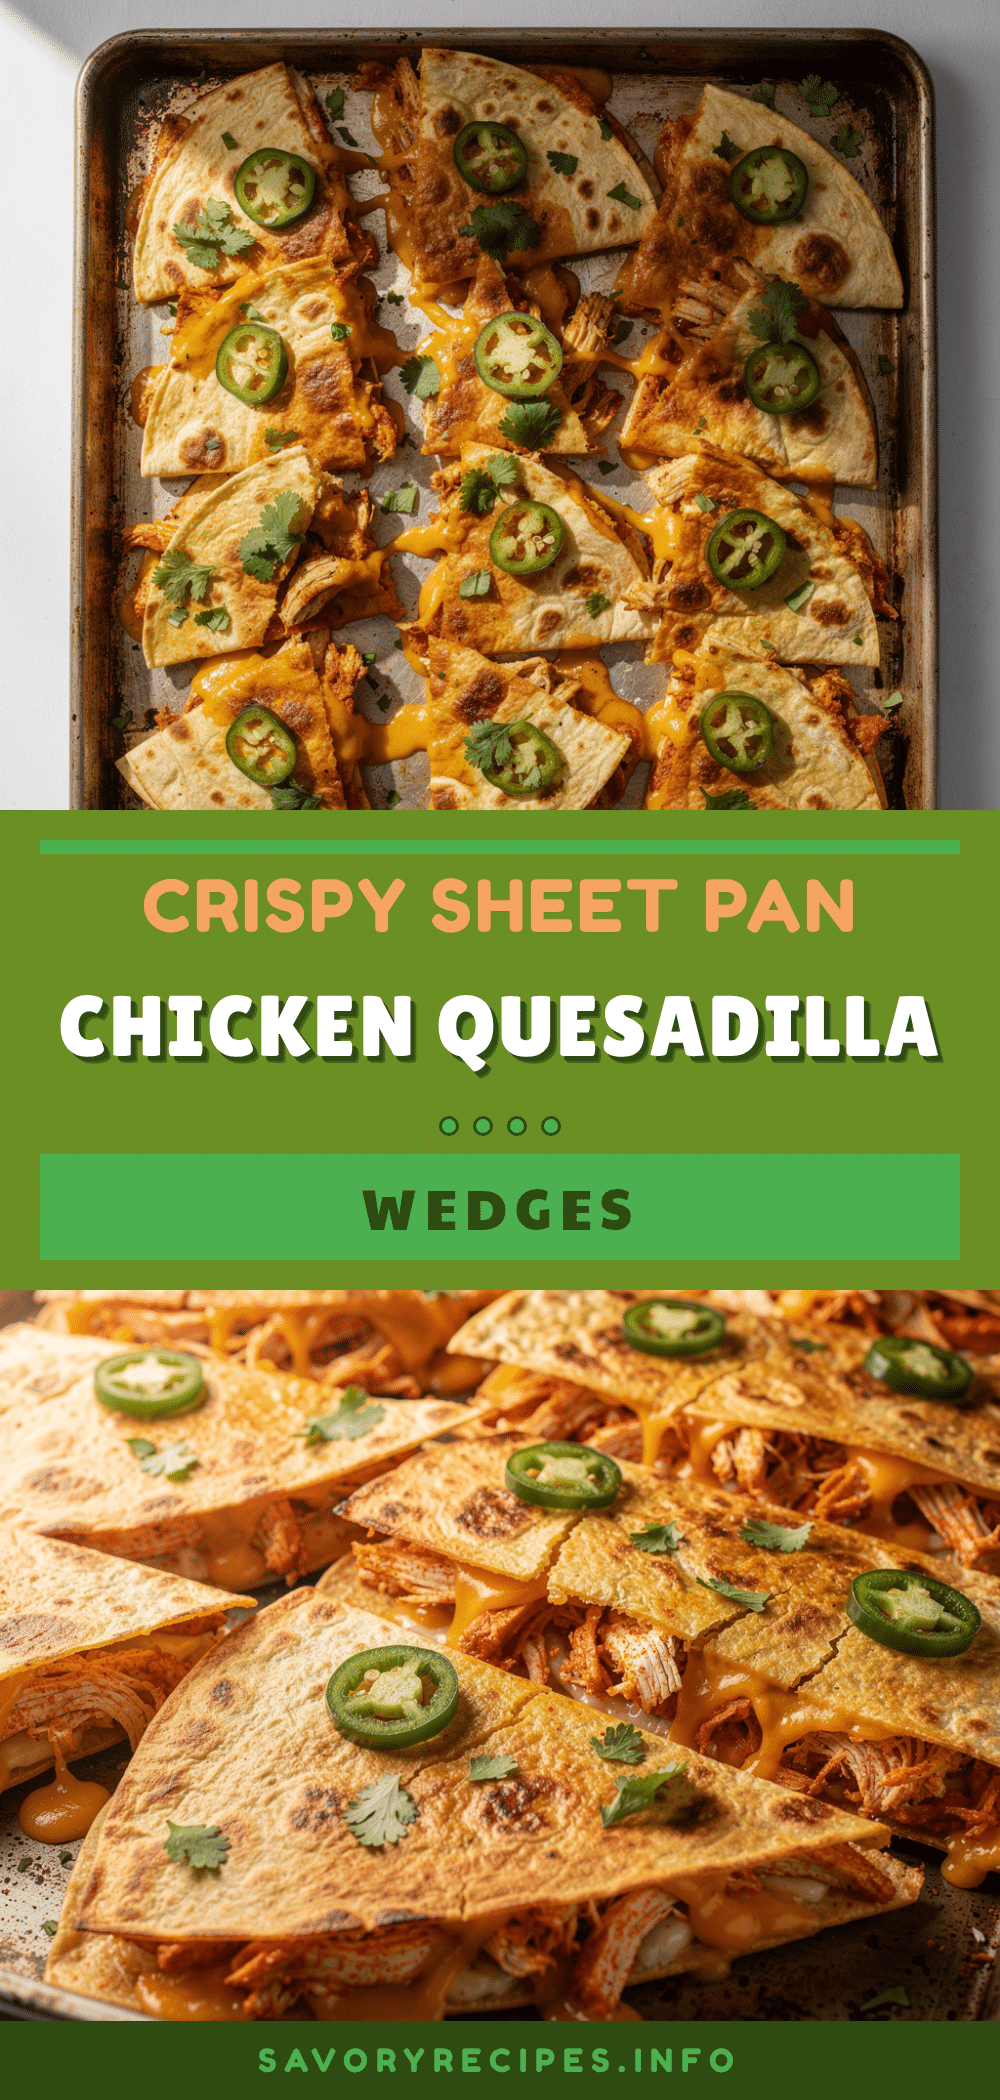
Crispy Sheet Pan Chicken Quesadilla Wedges
A quick and easy sheet pan recipe for crispy, cheesy chicken quesadilla wedges perfect for kids’ lunch or a fuss-free snack.
- Prep Time: 10 minutes
- Cook Time: 15 minutes
- Total Time: 25 minutes
- Yield: 4 servings 1x
- Category: Main Course
- Cuisine: Mexican-American
Ingredients
- 4 large flour tortillas
- 2 cups (about 10 oz) shredded cooked chicken (rotisserie chicken recommended)
- 1/2 cup (about 4 oz) diced bell peppers
- 1/4 cup (about 1.4 oz) minced red onion (optional)
- 1 small jalapeño, finely chopped (optional)
- 1 teaspoon ground cumin
- 1 teaspoon chili powder
- Salt and pepper to taste
- 1 cup (about 4 oz) shredded cheese blend (cheddar and Monterey Jack)
- Olive oil for brushing tortillas (about 2 teaspoons total)
- Fresh cilantro, chopped (optional, for garnish)
Instructions
- Preheat your oven to 425°F (220°C).
- In a mixing bowl, combine shredded cooked chicken, diced bell peppers, minced red onion, jalapeño (if using), ground cumin, chili powder, salt, and pepper. Toss well to coat evenly.
- Lay out 4 large flour tortillas on a clean surface. Brush one side of each tortilla lightly with olive oil (about 1 teaspoon per tortilla). This will be the outer side that crisps up.
- Flip the tortillas oil-side down. Evenly spread the chicken mixture over half of each tortilla, then sprinkle with shredded cheese blend. Fold the tortillas in half, pressing gently to seal.
- Place the folded quesadillas on a parchment-lined baking sheet, oil side up. Brush the top with a little more olive oil (about 1 teaspoon per quesadilla).
- Bake for 12–15 minutes, flipping halfway through using a spatula to ensure both sides are golden and crispy. Watch closely to avoid cheese leaking out.
- Remove from oven and let cool for 3–5 minutes to allow cheese to set.
- Slice each quesadilla into 3–4 wedges and serve warm with salsa, guacamole, or sour cream.
Notes
Brush both sides of tortillas with olive oil for best crispness. Flip quesadillas halfway through baking to ensure even cooking. Let wedges rest after baking to prevent cheese from leaking. Use a wide spatula to flip to avoid tearing. For gluten-free, use corn tortillas but handle gently. Leftover wedges reheat best in oven or skillet to maintain crispiness. Can freeze wrapped tightly for up to 2 months.
Nutrition
- Serving Size: About 3 wedges per s
- Calories: 350
- Fat: 15
- Carbohydrates: 30
- Protein: 25
Keywords: chicken quesadilla, sheet pan recipe, kids lunch, easy lunch, crispy quesadilla, baked quesadilla, quick dinner, family meal