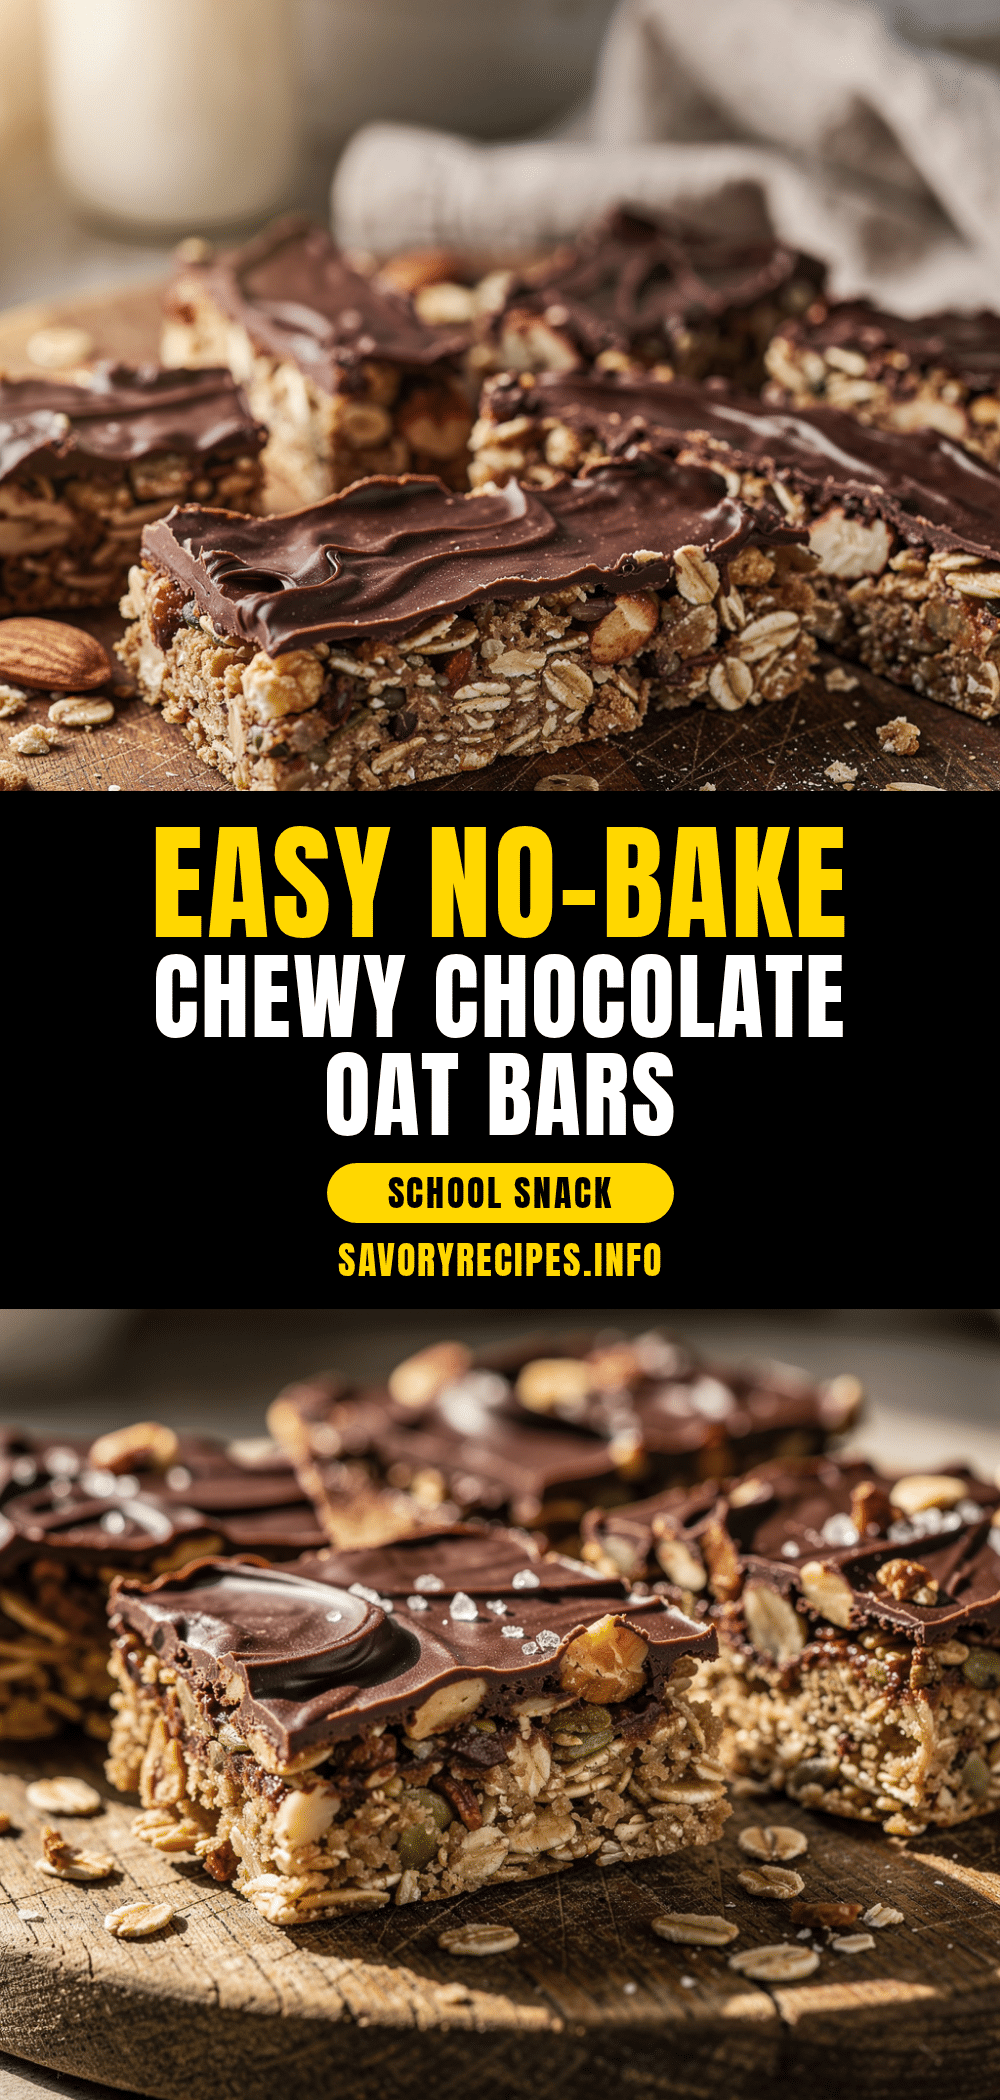
“Hey, do you have something quick for snacks?” my kid asked, right as I was scrambling to pack lunches before the school bus arrived. Honestly, I was out of my usual go-to treats, and the clock was ticking. That’s when I remembered this recipe for easy no-bake chocolate oat granola bars that I stumbled upon during a late-night kitchen experiment. It wasn’t planned—just a mix of pantry staples thrown together after a last-minute trip to the grocery store, and, well, it saved the day.
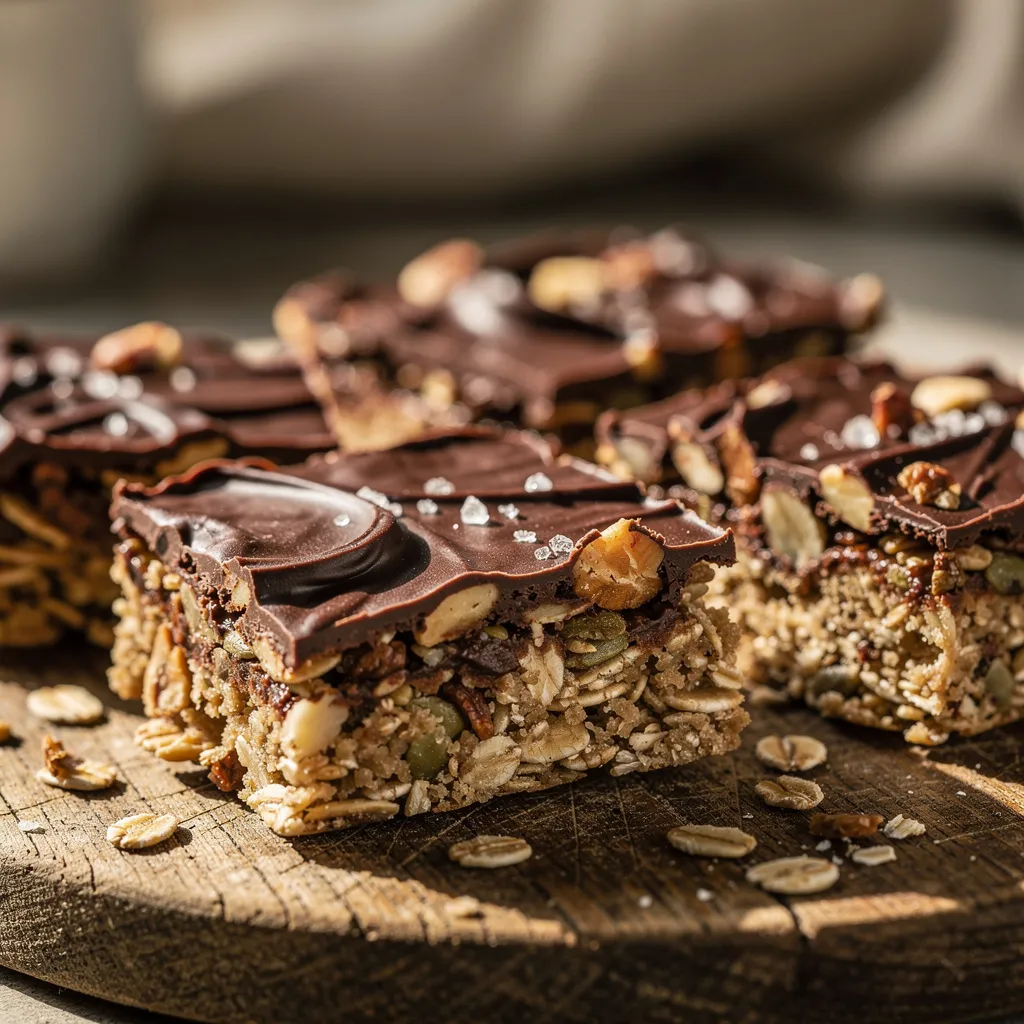
The smell of melted chocolate mingling with toasted oats filled the kitchen while I pressed the mixture into the pan. My kid’s eyes lit up when I handed them the first bar, and I caught myself thinking, “Why haven’t I made these more often?” Since then, these bars have become a regular staple for school snacks, especially on those mornings when time is tight but I still want to send something homemade and wholesome.
They’re not fussy, and you don’t need an oven—which makes them perfect for busy mornings or for involving kids in the kitchen without a mess or too much supervision. Plus, the chocolate gives just the right touch of sweetness without going overboard. It’s a simple recipe that turned into a reliable favorite, and I’m pretty sure it’ll stick around in your snack rotation too.
Why You’ll Love This Recipe
- Quick & Easy: Comes together in under 20 minutes, perfect for busy school mornings or last-minute snack prep.
- Simple Ingredients: Uses pantry staples you probably already have—rolled oats, cocoa powder, honey, and peanut butter.
- Perfect for School Snacks: Portable, mess-free bars that kids can easily grab and enjoy.
- Crowd-Pleaser: Kids and adults alike love the chocolatey flavor and chewy texture.
- Unbelievably Delicious: The blend of oats and chocolate creates a satisfying bite that feels indulgent but wholesome.
This recipe stands out because it skips the oven and complicated steps yet doesn’t compromise on taste or texture. The secret is using just the right balance of sticky ingredients like peanut butter and honey to bind the oats and cocoa powder together, creating bars that hold firm but remain chewy. I’ve tried other no-bake granola bars before, but this one nails the chocolate flavor without being too sweet or crumbly.
Honestly, this easy no-bake chocolate oat granola bars recipe is the kind of snack that makes you close your eyes and smile after the first bite. It’s a little comfort food, a little energy boost, and a whole lot of convenience wrapped into one. Whether you’re packing lunches or need an afternoon pick-me-up, these bars have got you covered.
What Ingredients You Will Need
This recipe uses simple, wholesome ingredients to deliver bold flavor and satisfying texture without the fuss. Most of these items are pantry staples, so no need for a special trip unless you’re all out. You can swap or omit a few depending on dietary needs or preferences.
- Rolled oats: 2 cups (about 180g) – the chewy base of the bars. I prefer old-fashioned oats for better texture.
- Natural peanut butter: 1 cup (240ml) – creamy or crunchy works; adds richness and helps bind everything together.
- Honey: ½ cup (120ml) – natural sweetener and sticky binder.
- Cocoa powder: ¼ cup (25g), unsweetened – gives that deep chocolate flavor without extra sugar.
- Vanilla extract: 1 teaspoon – enhances the chocolate notes and adds warmth.
- Mini chocolate chips: ½ cup (90g) – optional but highly recommended for extra chocolate bursts.
- Salt: A pinch – balances the sweetness and brings out flavors.
If you want to swap peanut butter, almond or sunflower seed butter works well too. For a vegan version, replace honey with maple syrup. Also, if fresh oats aren’t available, quick oats can be used, but the texture will be slightly softer. When I’m in a pinch, I’ve even stirred in some chopped nuts for crunch or swapped mini chips for dried fruit depending on what’s left in the pantry.
Equipment Needed
- Medium mixing bowl – for combining all the ingredients easily.
- Wooden spoon or silicone spatula – to mix the sticky batter without making a mess.
- 8×8 inch (20×20 cm) square baking pan – lined with parchment paper for easy removal.
- Measuring cups and spoons – essential for accuracy, especially with sticky ingredients.
- Microwave-safe bowl or small saucepan – to gently warm peanut butter and honey for easier mixing.
If you don’t have a square pan, a similar-sized dish or even a loaf pan will work; just press the mixture evenly. I’ve used a silicone baking mat instead of parchment paper, which helps with cleanup. For a budget-friendly option, a sturdy mixing bowl and wooden spoon do the trick—no fancy gadgets needed. Just be sure to line your pan well; this saves a lot of frustration when you’re ready to cut the bars.
Preparation Method
- Line your pan: Start by lining your 8×8 inch pan with parchment paper, leaving a little overhang on the sides for easy lifting later. This step is a lifesaver for neat bars.
- Warm the peanut butter and honey: In a microwave-safe bowl, combine the peanut butter and honey. Heat for about 30 seconds, then stir until smooth and fully combined. This makes mixing easier and helps bind the bars better.
- Add vanilla and salt: Stir in the vanilla extract and a pinch of salt to the warm mixture. The salt really rounds out the flavors, so don’t skip it.
- Mix dry ingredients: In the mixing bowl, combine the rolled oats and cocoa powder. Toss them together until evenly distributed — this ensures no clumps of cocoa powder.
- Combine wet and dry: Pour the peanut butter mixture over the oats and cocoa. Using a wooden spoon or spatula, mix until every oat is coated and the mixture is sticky and well-blended.
- Fold in chocolate chips: Add the mini chocolate chips and gently stir. This keeps them from melting too much but adds little pockets of melty chocolate in the bars.
- Transfer and press: Pour the mixture into the lined pan. Using a spatula or your hands (lightly greased), press the mixture firmly and evenly into the pan. The firmer you press, the better the bars hold together.
- Chill: Place the pan in the fridge for at least 2 hours to set. I usually let it sit overnight if I’m prepping ahead.
- Cut into bars: Once set, use the parchment overhang to lift the slab out of the pan. Cut into 10–12 bars with a sharp knife. Store in an airtight container.
If the mixture feels too crumbly before chilling, just add a teaspoon or two more honey or peanut butter to help it stick. The smell at the pressing stage is one of my favorite parts—rich chocolate with that nutty peanut butter aroma. It’s a good sign that it’ll taste just right.
Cooking Tips & Techniques
One thing I learned early on: don’t skimp on pressing the mixture firmly into the pan. I once tried a light press and ended up with bars that crumbled the second I tried to pack them. Using the parchment paper’s edges to lift the whole slab makes cutting and storing cleaner and easier.
Warming the peanut butter and honey is key. It might seem like an unnecessary step, but it really helps everything blend smoothly without dry spots. If you’re using a stovetop, just heat gently over low heat to avoid scorching.
Be mindful of the cocoa powder measurement. Too much, and the bars become bitter; too little, and you lose that rich chocolate flavor. Sticking to ¼ cup (25g) hits the right balance every time.
When adding chocolate chips, fold them in gently at the end so they don’t melt and turn the whole mixture into a gooey mess. You want little pockets of chocolate, not a melted chocolate block.
Finally, chilling time matters. Don’t rush it—give the bars time to firm up in the fridge. This helps them hold together and makes them easier to handle for lunchboxes or snack bags.
Variations & Adaptations
- Nut-Free Version: Replace peanut butter with sunflower seed butter and use maple syrup instead of honey to keep it allergy-friendly.
- Added Crunch: Stir in ½ cup chopped nuts like almonds or walnuts for extra texture and flavor contrast.
- Fruit Twist: Swap mini chocolate chips for dried cranberries or chopped dried apricots for a tart, chewy bite.
- Protein Boost: Mix in a scoop of vanilla protein powder with the oats for a more filling snack.
- Seasonal Spice: Add a pinch of cinnamon or pumpkin pie spice for a cozy flavor variation in fall or winter.
I once tried mixing in shredded coconut and a sprinkle of sea salt on top before chilling. The combination was unexpectedly good, with a slight tropical vibe and salty-sweet balance. Feel free to experiment with what you have on hand—this recipe is forgiving and flexible.
Serving & Storage Suggestions
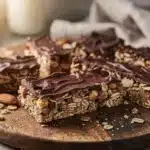
These bars are best served chilled or at room temperature. They hold together nicely in lunchboxes without crumbling, which is a huge win for school snacks. Pair them with a glass of milk or a fresh fruit like apple slices for a balanced mini-meal.
Store the bars in an airtight container in the refrigerator for up to a week. You can also freeze them individually wrapped for up to 3 months—just thaw at room temperature for 15 minutes before eating. The flavors actually deepen a bit after chilling overnight, so making them a day ahead is a nice trick if you want even tastier bars.
Nutritional Information & Benefits
Each bar (assuming 12 bars) contains approximately:
| Calories | ~180 kcal |
|---|---|
| Protein | 5g |
| Fat | 8g (mostly healthy fats from peanut butter) |
| Carbohydrates | 22g |
| Fiber | 3g |
These bars offer a good balance of protein, fiber, and healthy fats, making them more sustaining than typical sugary snacks. Oats provide whole grains and fiber, which helps keep energy steady through the school day. The natural peanut butter adds heart-healthy fats and protein, while honey offers natural sweetness without refined sugar.
For those with gluten sensitivities, make sure to use certified gluten-free oats. This recipe is naturally gluten-free and can be adapted for vegan diets by substituting honey with maple syrup. Just a heads-up for nut allergies: swapping peanut butter for seed butters keeps this snack safe and tasty.
Conclusion
Easy no-bake chocolate oat granola bars are a solid go-to when you need a homemade, wholesome snack without fuss. They’re quick to make, satisfy chocolate cravings, and pack well for school lunches or on-the-go munching. I love how versatile and forgiving this recipe is—it’s been a lifesaver during busy mornings and a crowd-pleaser for kids who ask for them again and again.
Feel free to tweak the ingredients to suit your family’s tastes or dietary needs. Whether you like them nutty, fruity, or with an extra chocolate punch, these bars are a simple way to keep snacks healthy and delicious. If you try this recipe, I’d love to hear how you customized it or what your favorite variations are—drop a comment below!
Here’s to stress-free snack prep and happy kids reaching for something homemade and tasty.
FAQs
Can I use quick oats instead of rolled oats?
Yes, quick oats can be used, but the bars may be softer and less chewy. Rolled oats give better texture.
How long do these granola bars last?
Stored in an airtight container in the fridge, they last up to a week. You can freeze them for up to 3 months.
Can I substitute peanut butter with almond butter?
Absolutely! Almond butter or sunflower seed butter works well, especially for nut allergies.
Are these granola bars suitable for vegan diets?
Yes, just replace honey with maple syrup or agave nectar to make them vegan-friendly.
What can I do if my bars don’t hold together?
If the mixture is crumbly, add a bit more honey or nut butter and press firmly before chilling. Chilling longer can help too.
Pin This Recipe!
Easy No-Bake Chocolate Oat Granola Bars Perfect for School Snacks
Quick and easy no-bake granola bars made with rolled oats, peanut butter, honey, and cocoa powder. Perfect for wholesome, mess-free school snacks that kids and adults love.
- Prep Time: 10 minutes
- Cook Time: 0 minutes
- Total Time: 2 hours 10 minutes
- Yield: 10-12 bars 1x
- Category: Snack
- Cuisine: American
Ingredients
- 2 cups rolled oats (about 180g)
- 1 cup natural peanut butter (240ml), creamy or crunchy
- ½ cup honey (120ml)
- ¼ cup unsweetened cocoa powder (25g)
- 1 teaspoon vanilla extract
- ½ cup mini chocolate chips (90g), optional
- A pinch of salt
Instructions
- Line an 8×8 inch (20×20 cm) pan with parchment paper, leaving an overhang for easy lifting.
- In a microwave-safe bowl, combine peanut butter and honey. Heat for about 30 seconds, then stir until smooth.
- Stir in vanilla extract and a pinch of salt to the warm mixture.
- In a mixing bowl, combine rolled oats and cocoa powder, tossing to distribute evenly.
- Pour the peanut butter mixture over the oats and cocoa powder. Mix thoroughly until every oat is coated and the mixture is sticky.
- Fold in mini chocolate chips gently to avoid melting.
- Transfer the mixture to the lined pan and press firmly and evenly using a spatula or lightly greased hands.
- Chill in the refrigerator for at least 2 hours or overnight to set.
- Lift the set slab out using the parchment overhang and cut into 10–12 bars.
- Store bars in an airtight container in the refrigerator.
Notes
Press the mixture firmly into the pan to prevent crumbling. Warm peanut butter and honey before mixing for better binding. Chill bars for at least 2 hours or overnight for best texture. Variations include using almond or sunflower seed butter for nut allergies, swapping chocolate chips for dried fruit, or adding nuts for crunch.
Nutrition
- Serving Size: 1 bar (if cut into 1
- Calories: 180
- Fat: 8
- Carbohydrates: 22
- Fiber: 3
- Protein: 5
Keywords: no-bake granola bars, chocolate oat bars, school snacks, peanut butter bars, healthy snacks, easy granola bars, kid-friendly snacks